hexo+github快速搭建网站并配置butterfly主题
2022【保姆级教程】含泪搭建hexo博客 - 知乎 (zhihu.com)
环境部署
git下载和github相关工作
Git - Downloading Package (git-scm.com)
注册github账号(如果没有)
1 | # 配置用户名和邮箱 |
生成 ssh 密钥,本机密钥访问github
1 |
|
如下:
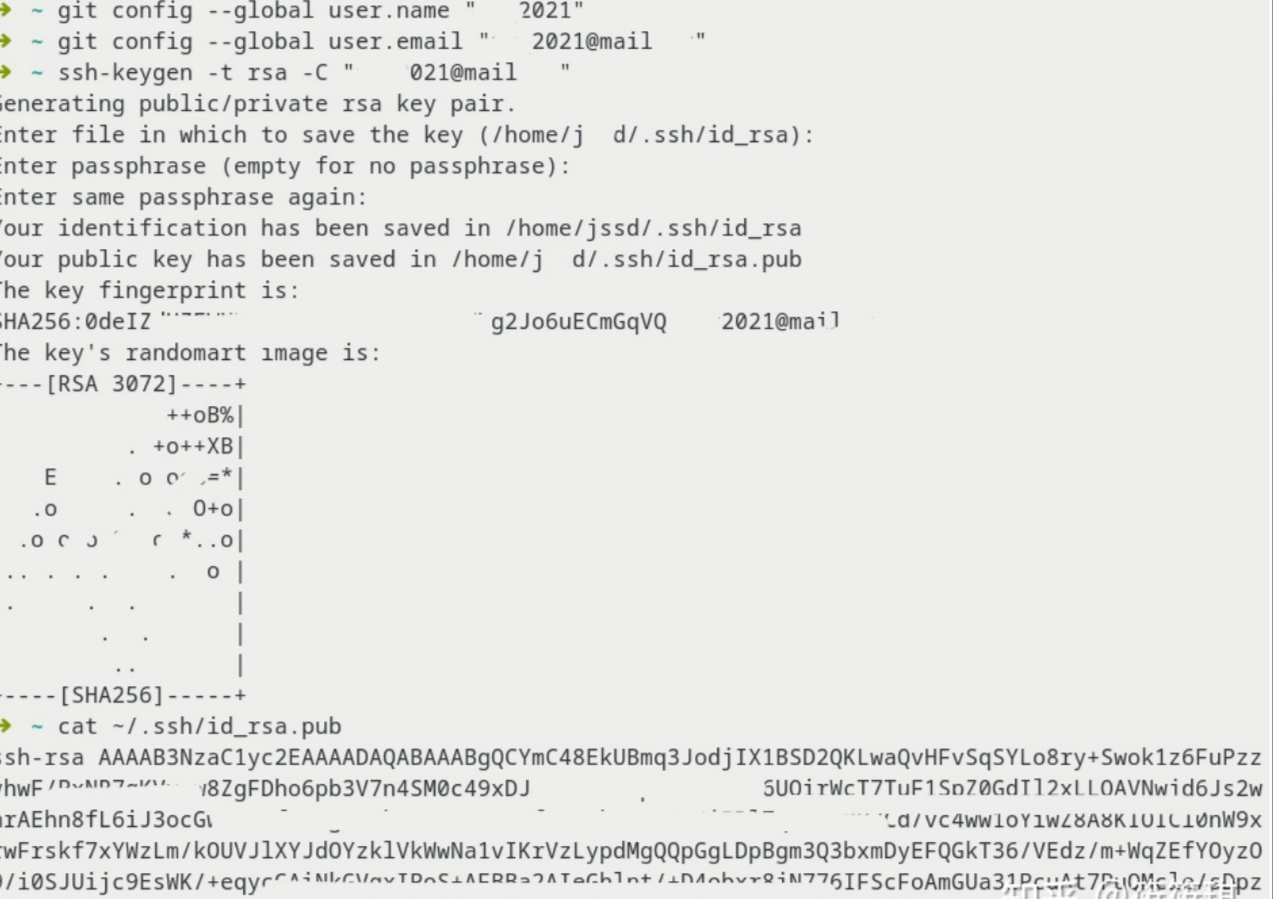
密钥上传
上一个步骤生成 id_rsa 和 id_rsa.pub
两个文件,前者是我们私有的,而后者则是对外开放的。接着找到生成的
.ssh 的文件夹中的 id_rsa.pub
密钥,将内容复制;id_rsa.pub位置可以用everything搜索,或者直接进入
[C:.ssh] 目录(要勾选显示“隐藏的项目”)
打开github
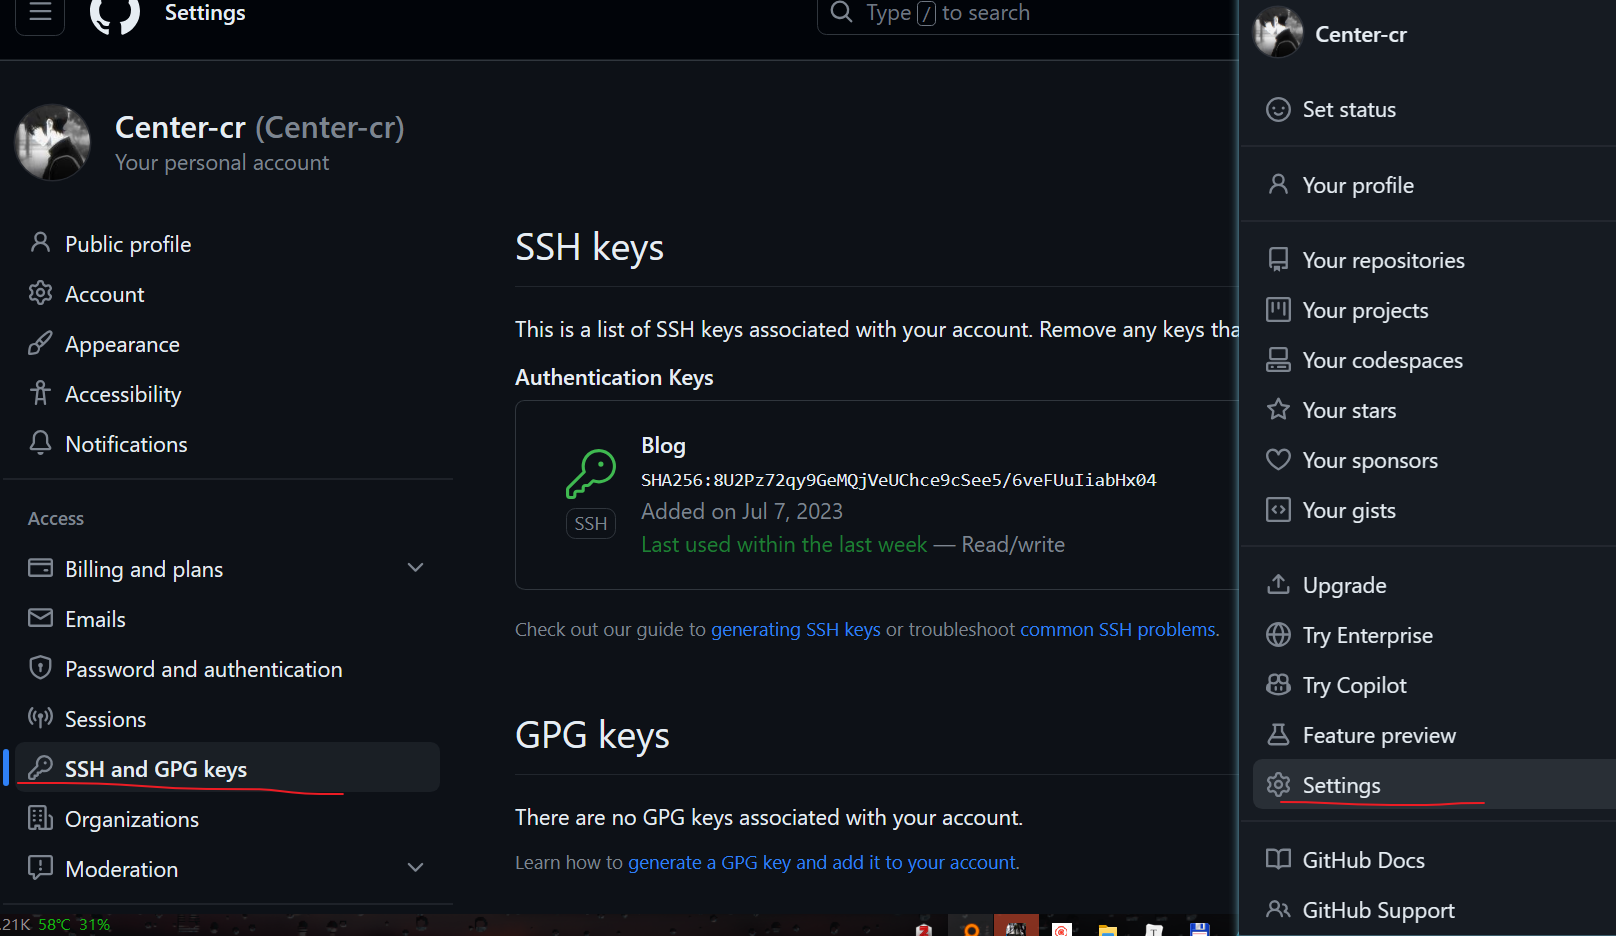
复制到SSH中
node.js(npm)下载
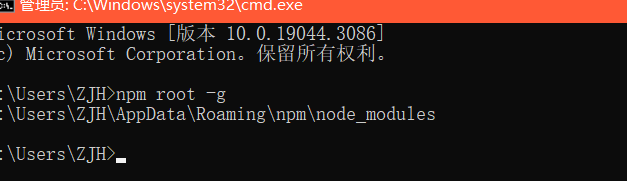
包存放路径
我们利用 npm 包管理器用来安装依赖包时,包会默认存放在
C:\Users\用户名\AppData\Roaming\npm\node_modules
目录下,如果你不确定你的包存放路径在哪儿,那么可以通过如下命令来进行查看:
1 | npm root -g |
由于第一次配置没有注意到这个问题,直接安到了C盘
更改镜像源
1 | npm config set registry https://mirrors.huaweicloud.com/repository/npm/ |
下载后验证版本
1 | node -v |
hexo安装与部署
新建一个文件夹
在这个位置运行cmd/shell或bash。。
hexo安装
1 | npm i hexo-cli -g |
安装部署插件
1 | npm install hexo-deployer-git --save |
新建文章
1 | hexo n "第一篇博客" |
生成静态网页在public文件夹
1 | hexo g |
本地预览
1 | hexo s |
开放端口给浏览器,从4000端口进入网页
部署到github
github中新建一个“用户名.github.io的仓库”
本地配置
打开hexo根目录的__config.yml
deploy中repo配置为自己的仓库名,格式如下:
1 | deploy: |
示例:
1 | deploy: |
与github仓库连接
hexo根目录运行
1 | ssh -T git@github.com |
当出现Are you sure you want to continue connecting (yes/no/[fingerprint])? 输入yes等待,输出Hi xxx! You've successfully authenticated...时即连接成功
上传gitHub
hexo clean清除public
hexo g 产生public
hexo d 上传
1 | hexo clean |
浏览器访问
1 | 用户名.github.io |
butterfly配置
Butterfly - A Simple and Card UI Design theme for Hexo
安装butterfly
hexo根目录输入:
1 | git clone -b master https://github.com/jerryc127/hexo-theme-butterfly.git themes/butterfly |
安装插件
pug 以及 stylus 的渲染器:
1 | npm install hexo-renderer-pug hexo-renderer-stylus --save |
应用
hexo中__config.yml更改
1 | theme: butterfly |
找到themes/butterfly/config.butterfly.yml,复制到hexo根目录
Hexo自动合并 _config.yml 和 _config.butterfly.yml 配置,优先考虑butterfly
我的配置如下:
https://wwsr.lanzoum.com/i144X11p884d